


Price: $9.99
(as of Apr 08, 2025 07:45:08 UTC - Details)
The Best Way to Apply Press-On Nails: A Comprehensive Guide
Introduction
Are you tired of spending hours at the salon or struggling with traditional nail polish that chips after just a few days? If so, press-on nails may be the perfect solution for you. In this article, we will explore the best way to apply press-on nails and provide you with practical tips and tricks to achieve salon-quality results at home. From ensuring a perfect fit to making them last, we will cover everything you need to know about press-on nails. So, let’s dive in and discover how to transform your nails effortlessly!
Understanding Press-On Nails
What Are Press-On Nails?
Before we delve into the application process, it’s essential to understand what press-on nails are. These are artificial nails that come in various shapes, sizes, and designs. They are made from materials like acrylic, plastic, or gel and can be easily applied at home. With the right technique, you can achieve a stunning manicure without the hassle of a salon visit.
Benefits of Using Press-On Nails
One of the biggest advantages of press-on nails is their convenience. They are easy to apply and remove, making them perfect for anyone with a busy lifestyle. Additionally, they come in a wide variety of designs, allowing you to change your look as often as you like. Press-on nails are also more affordable compared to salon services, making them a budget-friendly option for nail enthusiasts.
Preparing for Application
Choosing the Right Press-On Nails
The first step in applying press-on nails is selecting the right set. Consider the shape, length, and design that suits your style. Whether you prefer a classic French manicure or bold patterns, there’s a press-on nail set for everyone. Make sure to choose a size that fits your natural nails comfortably. If you’re unsure, many press-on nail brands offer size guides to help you find the perfect fit.
Gather Your Supplies
Before you start the application process, gather all the necessary supplies. You’ll need:
- Press-on nails
- Nail glue or adhesive tabs
- A nail file
- A buffer
- Cuticle pusher
- Rubbing alcohol or nail polish remover
Having everything ready will make the process smoother and more efficient.
The Application Process
Step 1: Prepare Your Natural Nails
The key to a successful press-on nail application is to prepare your natural nails properly. Start by removing any old nail polish and cleaning your nails thoroughly. Use a nail file to shape your nails and a buffer to smooth out any rough edges. This will help the press-on nails adhere better and create a more polished look.
Step 2: Push Back Your Cuticles
Gently push back your cuticles using a cuticle pusher. This step is crucial as it creates more space for the press-on nails to fit snugly. Be careful not to cut your cuticles, as they protect your nails from infections.
Step 3: Clean Your Nails
After pushing back your cuticles, clean your nails with rubbing alcohol or nail polish remover. This removes any oils or residues that might prevent the press-on nails from sticking. Ensure your nails are completely dry before moving on to the next step.
Step 4: Apply the Press-On Nails
Now it’s time to apply the press-on nails! If you’re using nail glue, apply a small amount to the back of the press-on nail and your natural nail. Press down firmly for about 10-15 seconds to ensure a strong bond. If you’re using adhesive tabs, place them on your natural nail, then press the press-on nail onto the tab.
Step 5: Shape and File
Once all the press-on nails are applied, take a nail file to shape them to your liking. You can also gently buff the surface to achieve a smooth finish. This step is especially important if the press-on nails are slightly longer than your natural nails.
Making Your Press-On Nails Last
Use Nail Glue for Better Longevity
If you want your press-on nails to last longer, consider using nail glue instead of adhesive tabs. Nail glue creates a stronger bond, allowing your nails to withstand daily activities without lifting. Just be cautious when removing the nails, as glue can damage your natural nails if not done properly.
Avoid Water for the First Few Hours
After applying your press-on nails, it’s best to avoid water for at least a few hours. Water can weaken the adhesive bond, causing the nails to lift. Plan your application time accordingly, so you can keep your nails looking perfect for as long as possible.
Reapply When Necessary
If you notice that any of your press-on nails start to lift, don’t panic! You can easily reapply them using nail glue. Simply remove the lifted nail, clean the area, and reapply as you did initially. This way, you can maintain a flawless manicure without starting from scratch.
Removing Press-On Nails Safely
When to Remove Your Press-On Nails
Knowing when to remove your press-on nails is essential to maintaining healthy natural nails. If you notice any lifting, damage, or discomfort, it’s time to take them off. It’s also a good idea to remove them after a week or two to give your natural nails a break.
How to Remove Press-On Nails
To remove press-on nails safely, soak your hands in warm, soapy water for about 10-15 minutes. This will help loosen the adhesive. Gently wiggle the press-on nails to see if they come off easily. If they’re still stuck, use a nail polish remover to dissolve the glue. Never force the nails off, as this can damage your natural nails.
Conclusion
In summary, applying press-on nails is a simple and effective way to achieve beautiful nails without the need for a salon visit. By following the steps outlined in this guide, you can ensure a perfect application and enjoy your nails for as long as possible. Remember to choose the right press-on nails, prepare your natural nails properly, and use nail glue for better longevity. With these tips, you can enjoy stunning, salon-quality nails right at home. So go ahead and give it a try—the best way to apply press-on nails is just a few steps away!
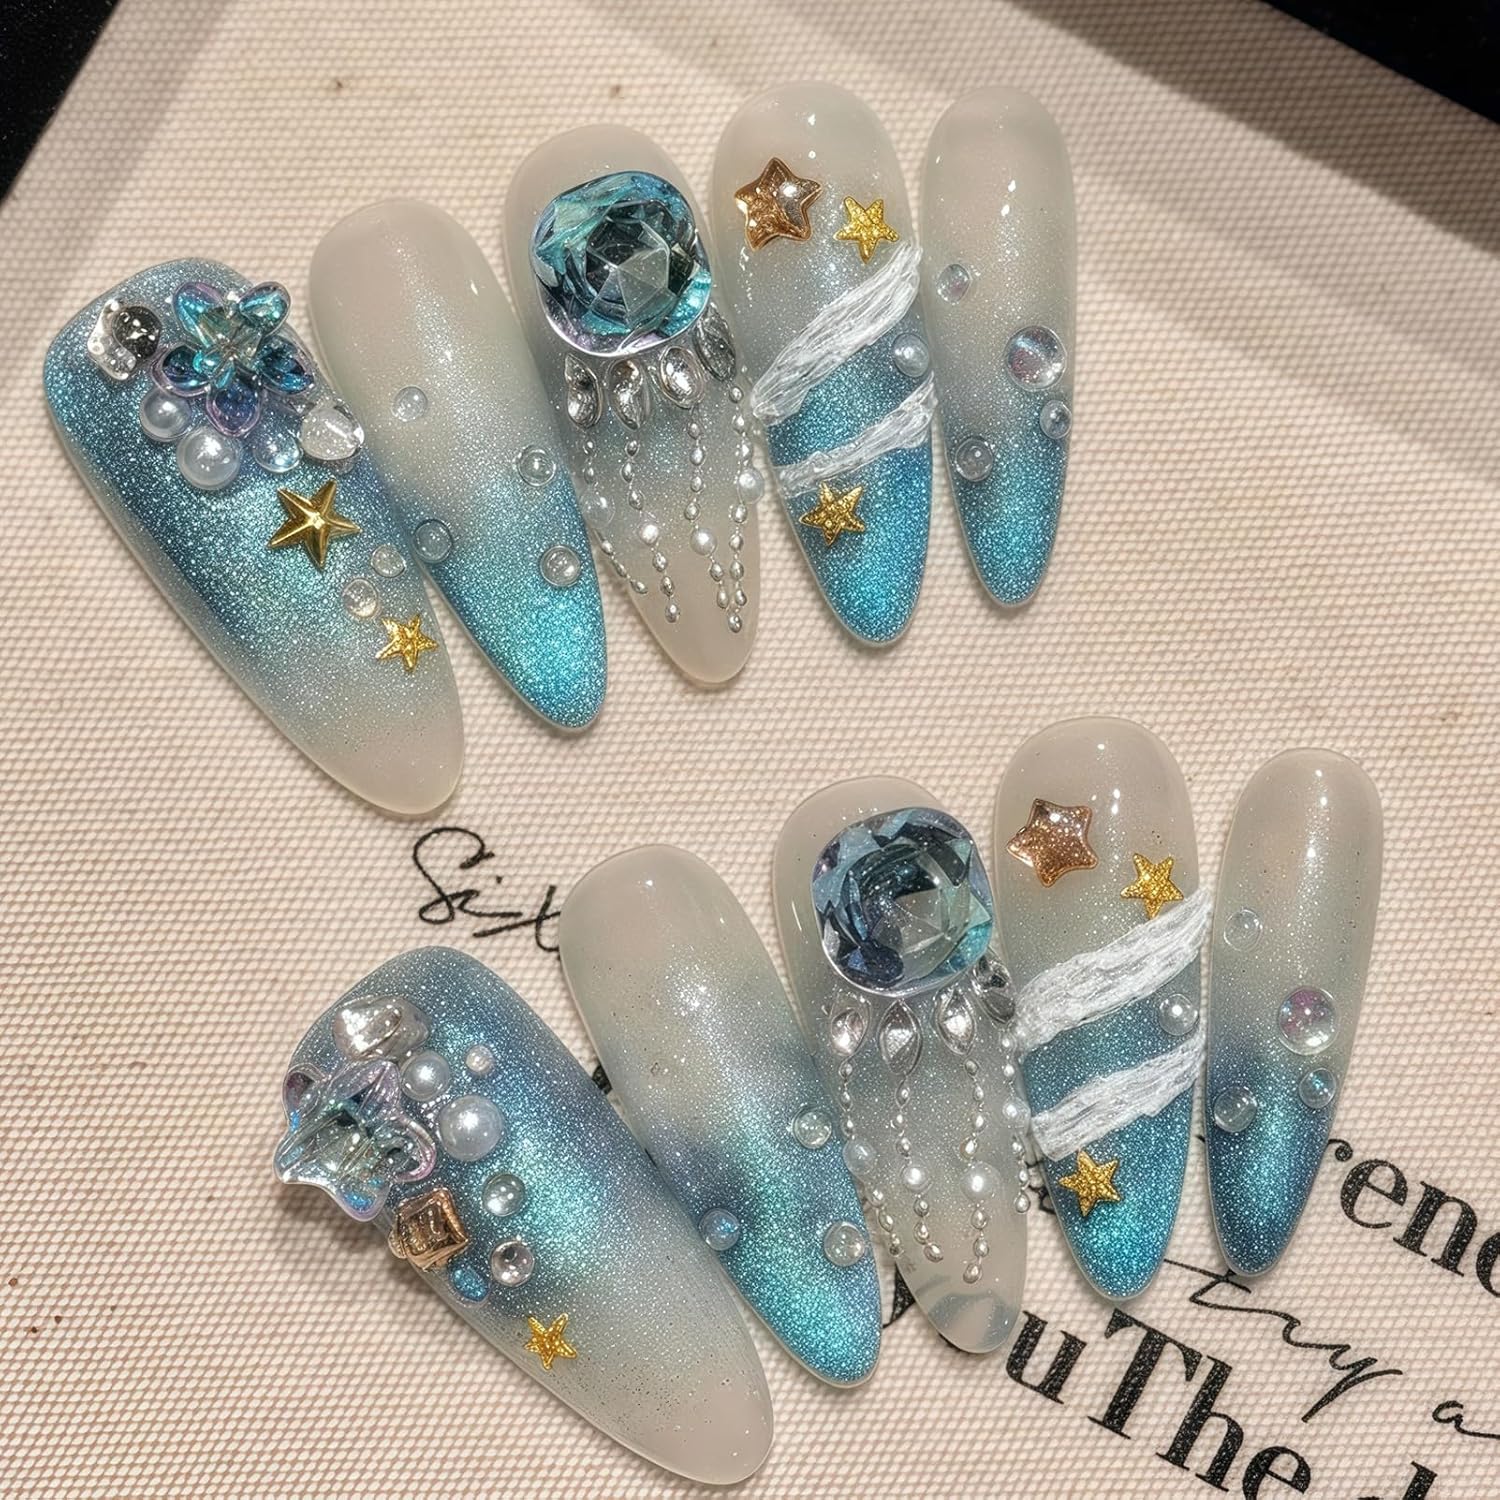
【Exquisite Handmade Press on Nails】 Each nail is meticulously handmade press on nails with premium acrylic, featuring hand-placed pearls and blue diamond designs for a long lasting press on nails look
【Unique Press on Nails Designs】 Our handmade nails press on set offers intricate press on nails designs that have exclusive star, pearl, diamond decors.
【Durable Handmade Acrylic Press on Nails】 Crafted as handmade acrylic press on nails, these reusable falsies resist chipping and maintain shine for 7-10 days with included tools kit.
【Nails Measure Needed 】 These hand made press on nails come in 10Pcs of 5 different sizes. Nails measured needed to see if this handmade false nail kit fits your nails. Get theChoose a bigger one than your nails rather than a smaller one.
【Easy To Use】 Only simple steps needed to use, clean the nails, chose the way you prefer to stick the handmade acrylic nails, and apply the nails with the tools equipped. All tools needed is included in this hand made acrylic press on nails set. Nice to DIY at home