


Price: $7.99 - $8.99
(as of Apr 12, 2025 00:15:10 UTC - Details)
The Best Way to Apply Press-On Nails: A Comprehensive Guide
Introduction
Are you looking for a quick and stylish way to enhance your nails without the hassle of a salon visit? Press-on nails might just be the perfect solution for you! In this article, we will explore the best way to apply press-on nails, ensuring you achieve that flawless look effortlessly. We’ll cover everything from preparation to application techniques, tips for long-lasting wear, and how to remove them safely. By the end, you’ll be ready to rock your press-on nails with confidence!
Understanding Press-On Nails
What Are Press-On Nails?
Press-on nails are pre-designed nail tips that you can easily attach to your natural nails. They come in various shapes, sizes, and designs, making them a versatile choice for anyone looking to change their nail game. Unlike traditional nail enhancements, press-on nails are user-friendly and can be applied at home, saving you time and money.
Benefits of Using Press-On Nails
Using press-on nails offers several advantages. First, they are incredibly convenient. You can apply them in just a few minutes and remove them whenever you want. Secondly, there’s a wide range of styles available, allowing you to switch up your look based on the occasion. Finally, they are a perfect option for those who want to avoid the commitment of acrylics or gel nails.
Preparing for Application
Choose the Right Press-On Nails
Before you start applying, it’s essential to select the right press-on nails. Look for a set that matches your desired shape and length. If you’re new to press-on nails, consider starting with a basic style before experimenting with more intricate designs.
Clean and Prep Your Natural Nails
Proper preparation is key to achieving a long-lasting application. Start by removing any old nail polish and washing your hands thoroughly. Then, gently file your natural nails to create a rough surface. This will help the adhesive bond better. Don’t forget to push back your cuticles and trim any excess skin to prevent lifting.
The Application Process
Step-by-Step Guide to Applying Press-On Nails
-
Select the Right Size: Choose a press-on nail that fits each of your natural nails. Most sets come with multiple sizes to ensure a perfect fit.
-
Apply Nail Glue or Adhesive Tabs: Depending on your preference, you can use nail glue for a stronger hold or adhesive tabs for a gentler application. Apply a small amount of glue or stick the tab onto your natural nail.
-
Press and Hold: Align the press-on nail with your natural nail and press down firmly. Hold it in place for about 10-15 seconds to ensure it adheres well.
- Repeat: Continue this process for all your nails, making sure they are securely attached.
Tips for a Flawless Finish
- Use a Top Coat: Applying a clear top coat can add shine and help seal the press-on nails, making them last longer.
- Avoid Water for a Few Hours: Try to keep your hands dry for at least a few hours after application to allow the adhesive to set.
Maintaining Your Press-On Nails
How to Make Press-On Nails Last Longer
To ensure your press-on nails stay looking fabulous, here are some helpful tips:
- Avoid Excessive Moisture: Prolonged exposure to water can weaken the adhesive. Wear gloves while doing dishes or cleaning.
- Limit Activities: Try to avoid activities that might cause heavy impact on your nails, such as typing or opening cans.
Regular Care Tips
- Keep Them Clean: Gently wipe your nails with a damp cloth to remove any dirt or debris.
- Moisturize Your Cuticles: Apply cuticle oil regularly to keep your nails and skin hydrated.
Removing Press-On Nails
Safe Removal Techniques
When it’s time to remove your press-on nails, do it gently to avoid damaging your natural nails:
-
Soak in Warm Water: Fill a bowl with warm, soapy water and soak your nails for about 10-15 minutes. This will help loosen the adhesive.
-
Gently Lift the Nails: Use a wooden stick or your fingers to gently lift the edges of the press-on nails. Be patient—don’t force them off.
- Clean Up: Once removed, clean your natural nails and apply nourishing oil to keep them healthy.
Troubleshooting Common Issues
What to Do If Nails Don’t Stick
If you find that your press-on nails aren’t sticking properly, consider the following:
- Check the Expiration Date: Ensure your glue or adhesive tabs are not expired.
- Prepare Your Nails Properly: Make sure your nails are clean and free of oils before application.
How to Fix Lifting Nails
If you notice any lifting after application, follow these steps:
- Reapply Adhesive: Carefully lift the press-on nail and apply a small amount of glue underneath, then press it back down.
- Seal with a Top Coat: This can help secure the edges and prevent further lifting.
Conclusion
In conclusion, knowing the best way to apply press-on nails can transform your nail care routine. With proper preparation, careful application, and regular maintenance, you can enjoy stylish and long-lasting nails without the salon visit. Remember to choose the right nails, follow the application steps, and take care of your nails post-application. Now that you’re equipped with all the essential tips and tricks, it’s time to embrace the convenience and beauty of press-on nails! Happy nail styling!
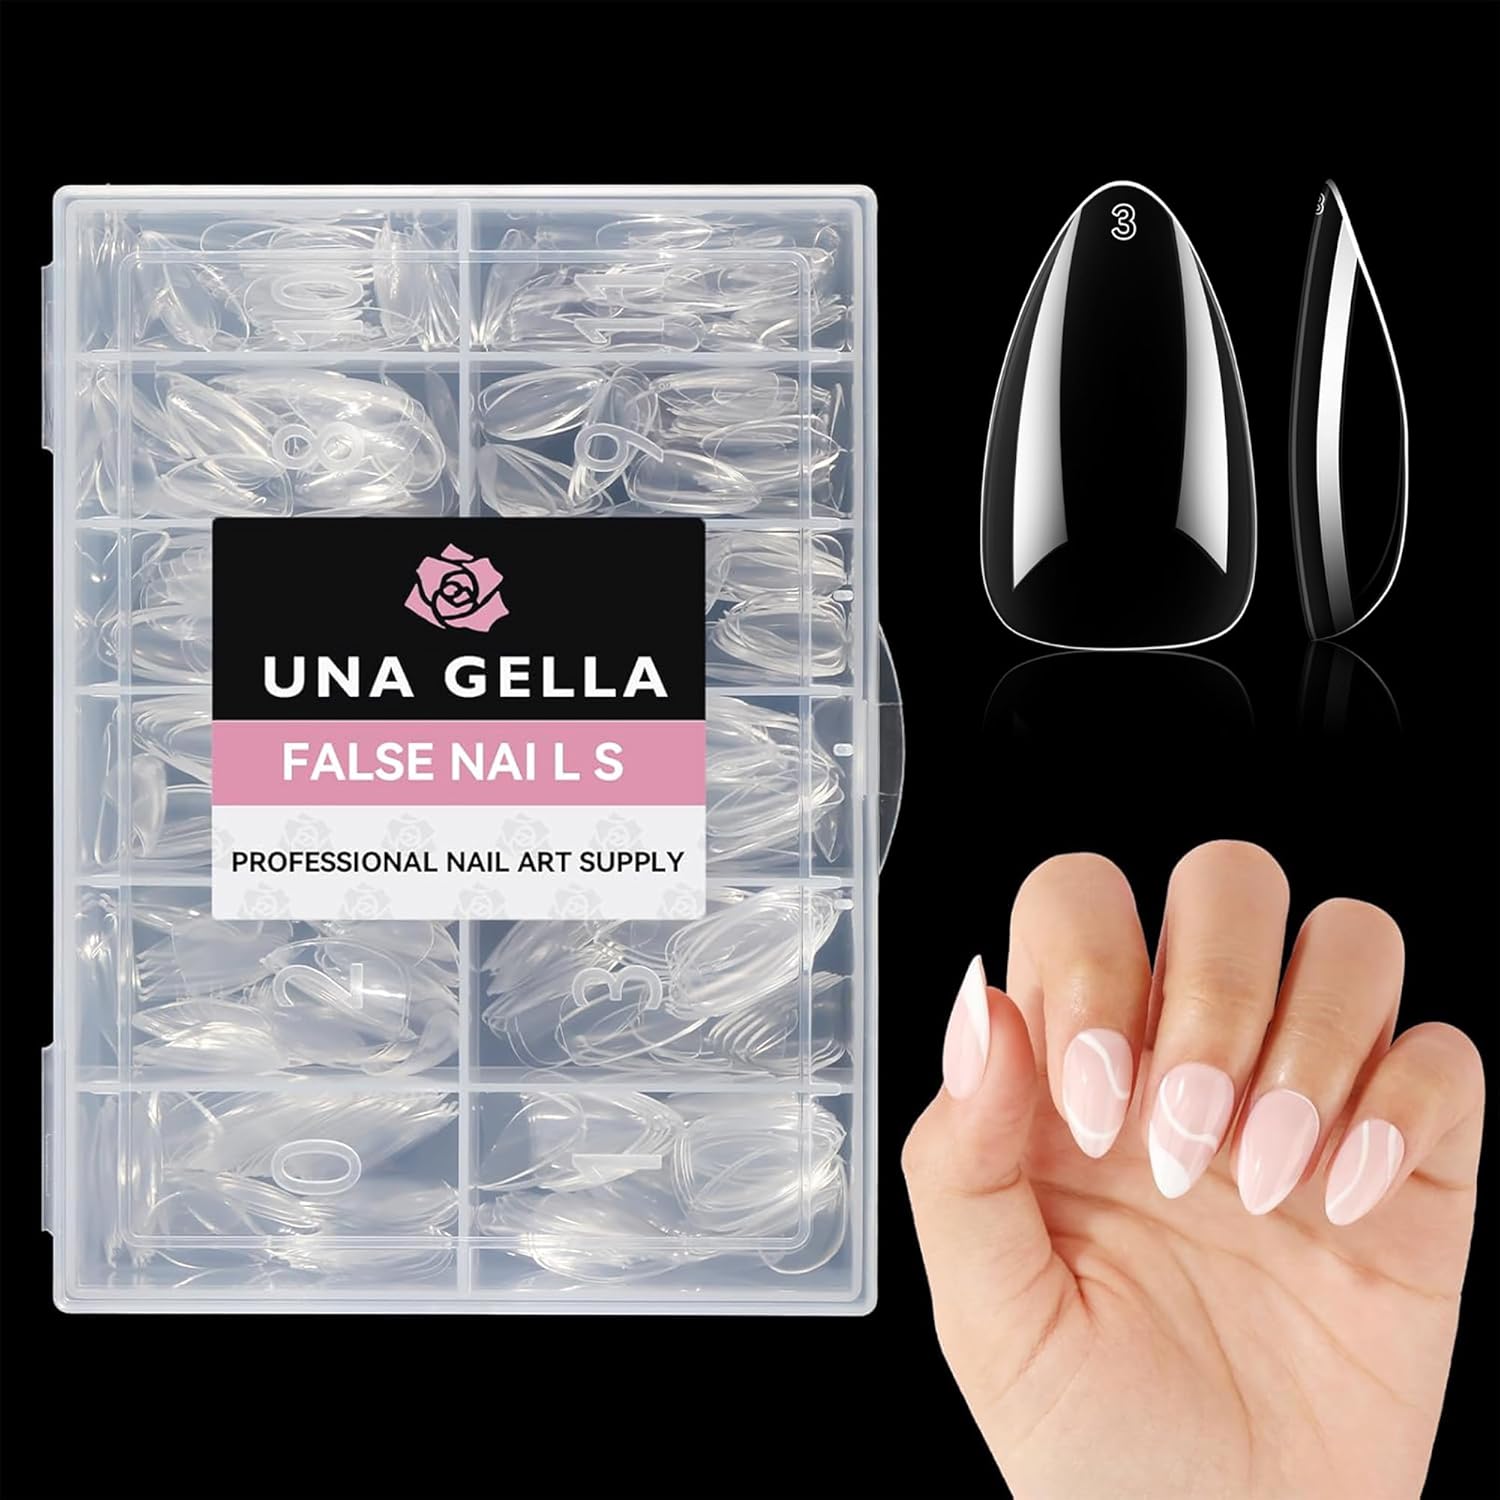
【Breathable and Durable】- Our Short Almond False Nail Tips, made from high-quality Soft Gel, offer a non-toxic, odorless, and lightweight design. Breathe freely with nails that stay fresh and comfortable, while enjoying long-lasting nail art.
【Natural Fit Effect】 - The soft short fake nails feature a “ Thin back edge, thick front edge”. The thinner back edge can make the full acrylic nails fit your nails better. The clear surface of gel nail tips makes the color more visible. The thickened front edge makes it not easy to break or bend, having a longer lifespan. Just like your natural nails!
【Easy to Remove】- Our Short Almond gel nails are full cover, lightweight, flexible, and can be filed/cut down to the desired shape and length. Gel material and gel tips can be quickly soaked off with acetone without damage, so you can change your manicure as often as you like.
【Short Almond Gel Nails with No Trace】- The Almond false nails are gelly soft tips and will make no trace even bend, bright clear you can more easily press, trim, and paint flat false nails to make your dream nails shape. Real DIY manicure gel tips.
【504 Pcs,12 Sizes, Pre-numbered】- Short Almond nail tip 504 pieces, 12 sizes, you can find the best size nails tips. The gel nail tips are marked with numbers at the top which is very convenient for you to choose the suitable size you need. And the fake nail tips with the box will provide you with convenient and tidy storage.